[TOC]
开发环境
- Python第三方库:lxml、Twisted、pywin32、scrapy
- Python 版本:python-3.5.0-amd64
- PyCharm软件版本:pycharm-professional-2016.1.4
- 电脑系统:Windows 10 64位
如果你还没有搭建好开发环境,请到这篇博客。
这一篇博客的目的是爬取 169美女图片网 里面的所有的“西洋美女”的高清图片。

爬虫程序设计思路:
1 . 先得到 http://www.169bb.com/xiyangmeinv/ 页面里面所有的照片后面对应的URL网页链接(如)。
2 . 接着在得到的URL链接网页里面得到里面所有高清图片的下载地址,进行下载。
3 . 得到所有 “西洋美女” 网页的页数。

观察网页 和 网页源代码
1 . 打开 169美女图片网:http://www.169bb.com/
2 . 我们的目的是爬取这个站点里面所有 “西洋美女” 的高清图片。所以点击进入“西洋美女” 标签里。(http://www.169bb.com/xiyangmeinv/%EF%BC%89

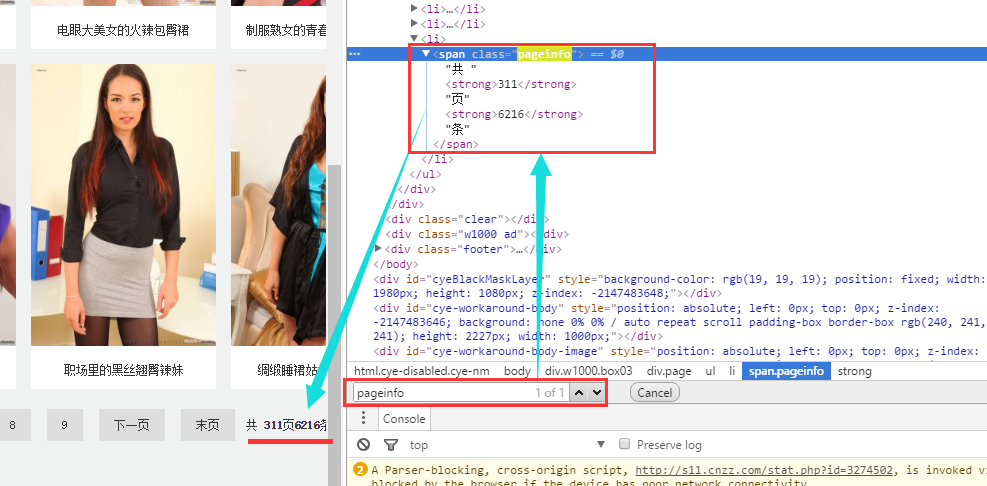
3 . 观察这个页面,在页面最下面,显示了,当前一共311页。

4 . 我们再来观察每页的网址有什么共同点,我们发现:
这样每页的网址是有规律的,按照这个规律,我们可以推测出“西洋美女” 的第120页的网址就应该是:http://www.169bb.com/xiyangmeinv/list_4_120.html
。事实的确是这样的。好。
5 . 现在,我们随便点击一个图片,进去看看这个美女的高清图片集。
里面都是高清的图片,并且有很多,并且,不止一页。就我随机点击的这个美女的链接就有11页,并且一页里面有5张左右的高清图片。

6 . 并且它的每页的网址也是有规律的。
但是有的美女的网址里只有一页,比如这个:http://www.169bb.com/xiyangmeinv/2016/0103/5974.html
好了,现在这个目标网页,我们已经分析完了。现在就可以编程。
写程序
源代码GitHub里:这里。
接下来我们为大家讲解大型图片爬虫项目编写实战。
Step 1 .
创建一个Scrapy爬虫项目:
1
| scrapy startproject secondDemo
|
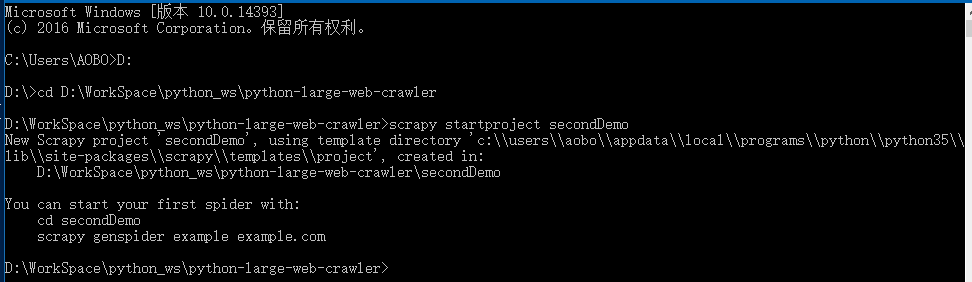
创建一个scrapy爬虫文件,我们就在这个文件里面写爬取目标网站里面图片的爬虫程序。
1
2
| cd secondDemo
scrapy genspider -t basic pic_169bb 169bb.com
|

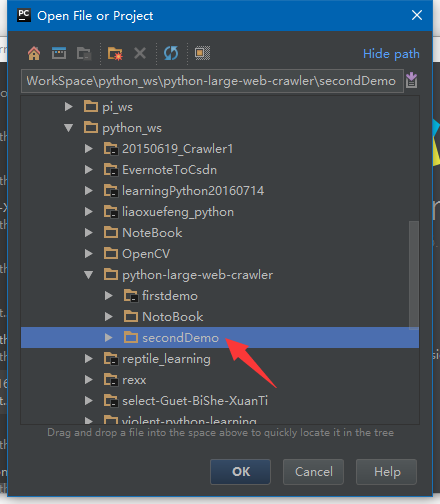
用 PyCharm 软件打开刚刚创建的 secondDemo 工程。
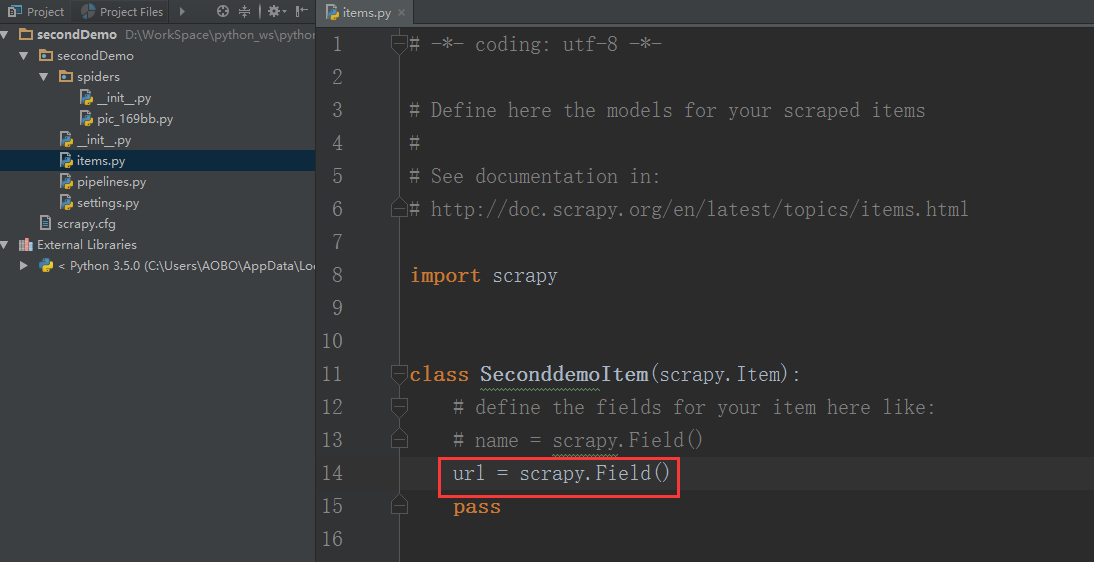
Step 2 . 在 items.py 文件里面的SeconddemoItem()函数里面创建一个对象,这个对象在其他的文件里面会使用到。
Step 3 . 现在开始爬虫的编写。进入pic_169bb.py文件。
爬虫(pic_169bb.py文件)会自动的先爬首页(169bb.com),爬完首页之后,会自动的进入parse()回调函数。
这个回调函数中,我们需要写些东西。
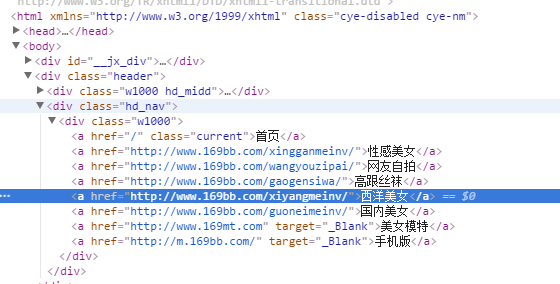
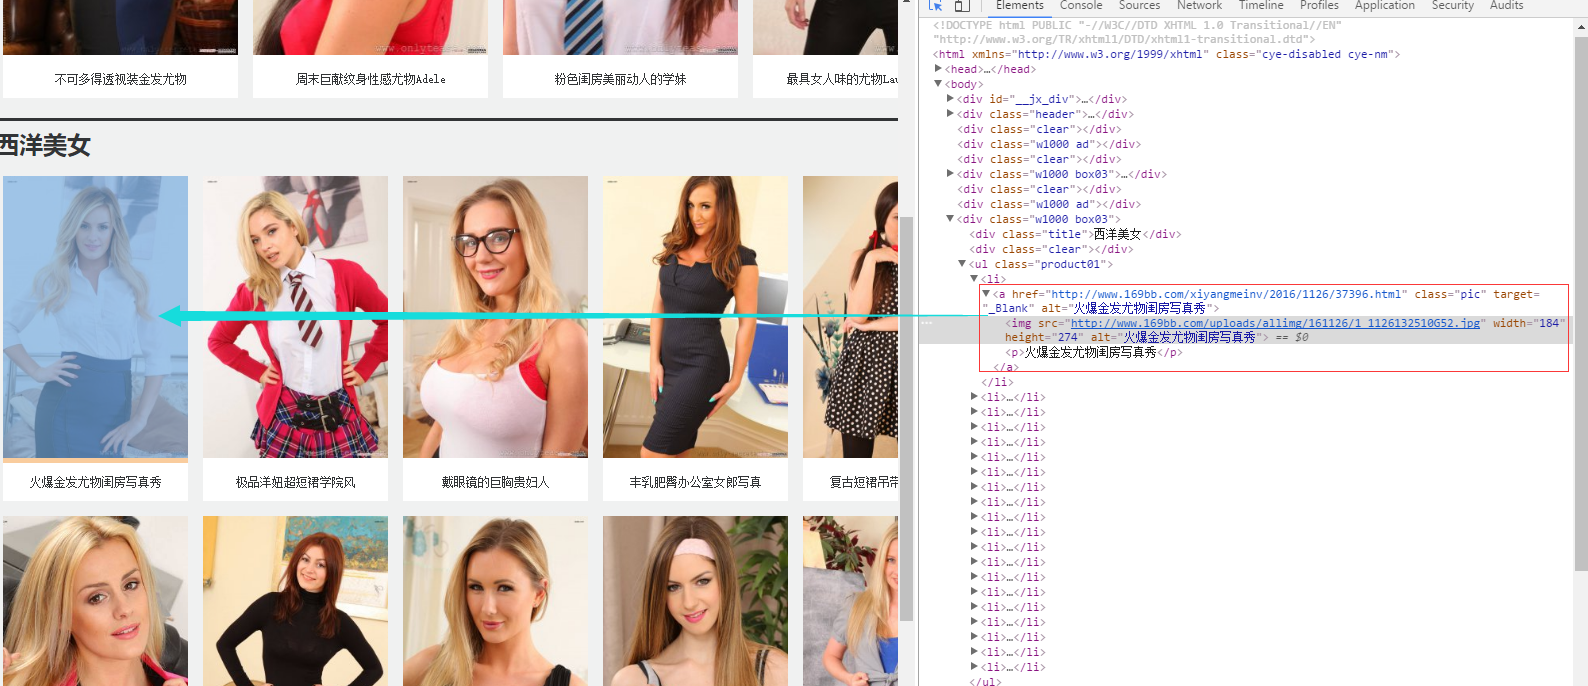
先获取所有栏目的名字和地址。

查看源代码:
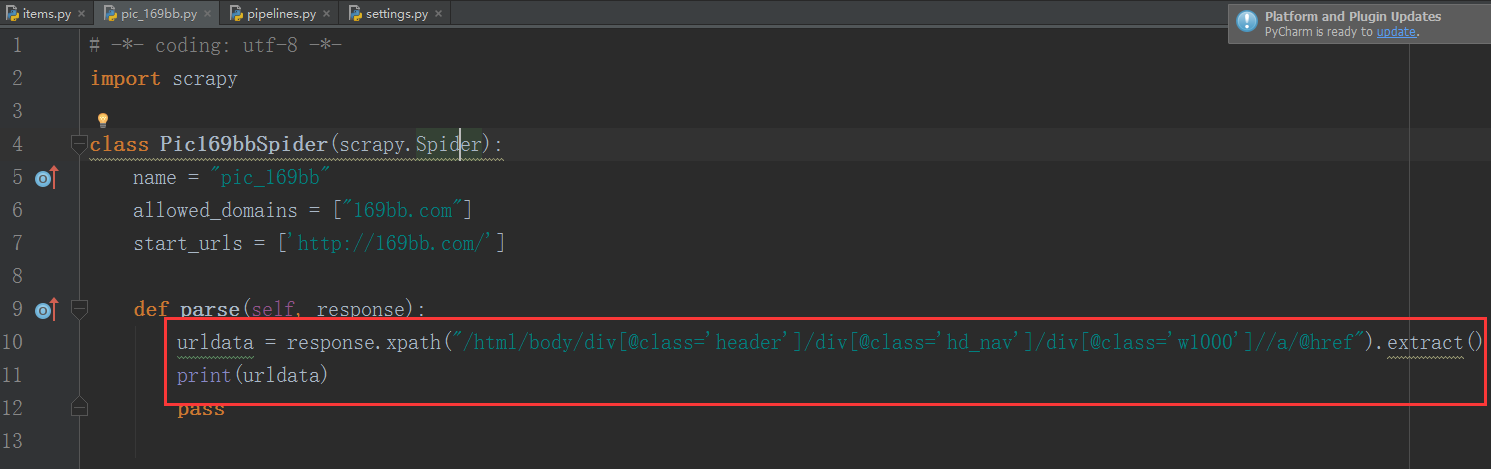
在pic_169bb.py 文件中的 parse()回调函数中添加下面的代码:
1
2
| urldata = response.xpath("/html/body/div[@class='header']/div[@class='hd_nav']/div[@class='w1000']//a/@href").extract()
print(urldata)
|
现在运行一下,输出:

继续进行下一次的爬取:
先导入一个模块
1
| from scrapy.http import Request
|
爬取子栏目的第一页,即西洋美女网址的第一页。
1
2
3
4
5
6
| xiyangurldata = urldata[4] # 获取西洋美女首页网址
print(xiyangurldata)
yield Request(url=xiyangurldata, callback=self.next)
def next(self, response):
pass
|
1
2
3
4
5
6
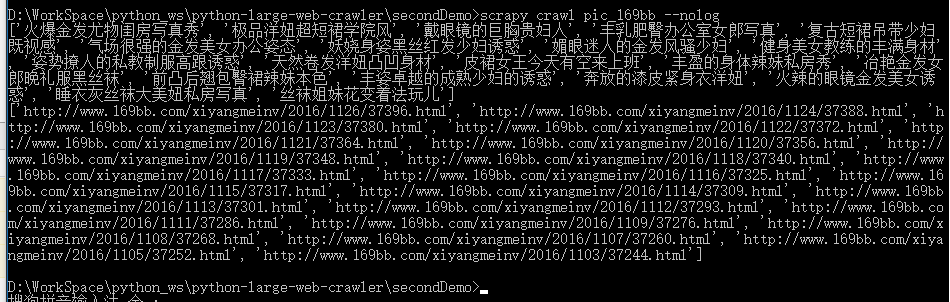
| def next(self, response):
page_title_list = response.xpath("/html/body//div[@class='w1000 box03']/ul[@class='product01']//li/a/@alt").extract()
print(page_title_list)
page_url_list = response.xpath("/html/body//div[@class='w1000 box03']/ul[@class='product01']//li/a/@href").extract()
print(page_url_list)
pass
|

运行输出一下:
1
2
3
4
5
6
7
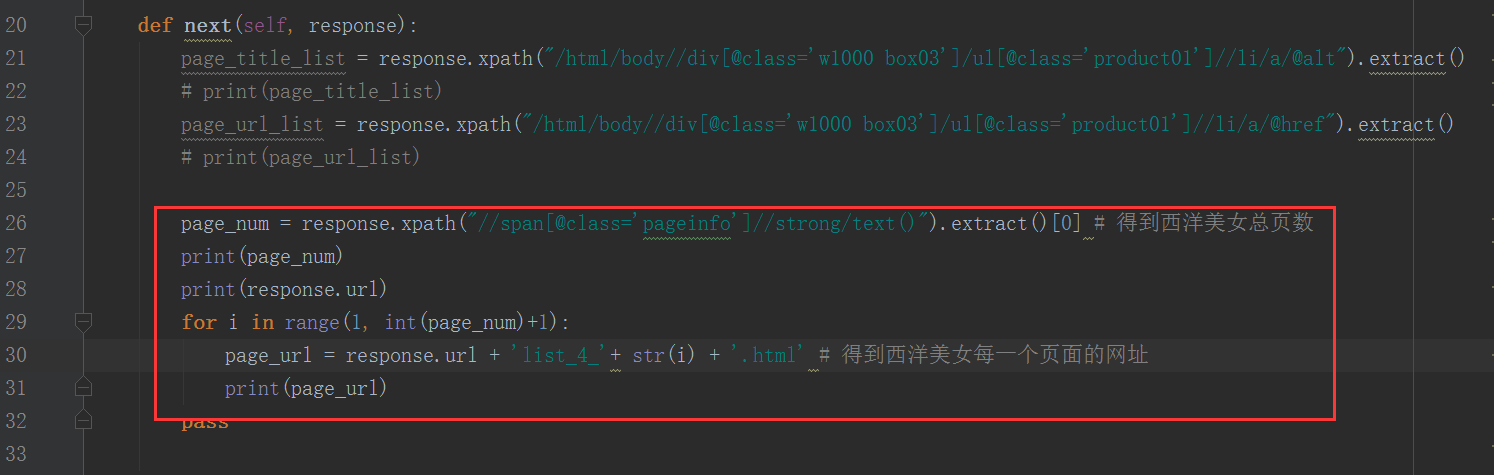
| page_num = response.xpath("//span[@class='pageinfo']//strong/text()").extract()[0] # 得到西洋美女总页数
print(page_num)
print(response.url)
for i in range(1, int(page_num)+1):
page_url = response.url + 'list_4_'+ str(i) + '.html' # 得到西洋美女每一个页面的网址
print(page_url)
pass
|
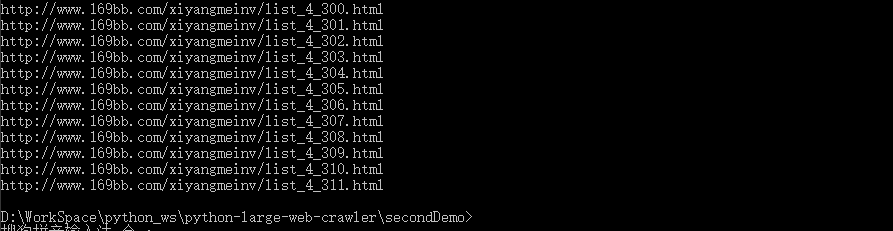
运行输出一下:

继续下一次:
1
2
3
4
5
6
7
8
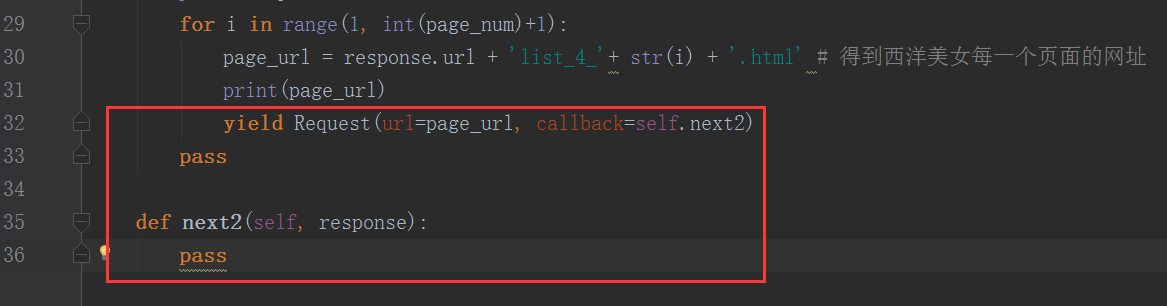
| for i in range(1, int(page_num)+1):
page_url = response.url + 'list_4_'+ str(i) + '.html' # 得到西洋美女每一个页面的网址
print(page_url)
yield Request(url=page_url, callback=self.next2)
pass
def next2(self, response):
pass
|
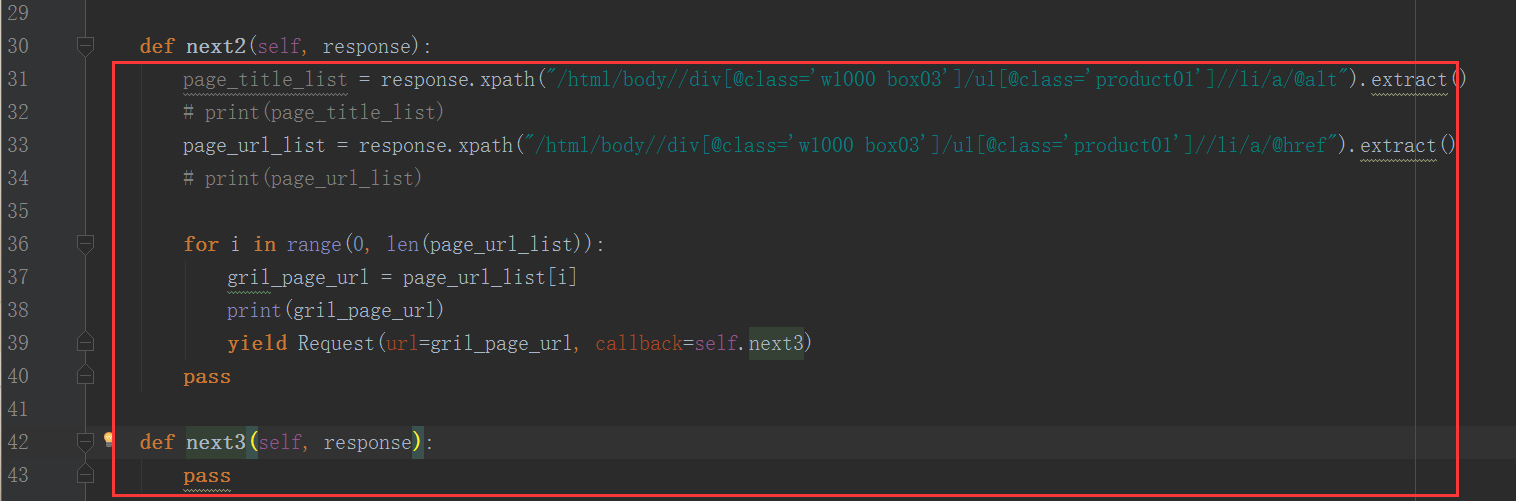
现在获取每一个美女的网页网址:
1
2
3
4
5
6
7
8
9
10
11
12
13
14
| def next2(self, response):
page_title_list = response.xpath("/html/body//div[@class='w1000 box03']/ul[@class='product01']//li/a/@alt").extract()
# print(page_title_list)
page_url_list = response.xpath("/html/body//div[@class='w1000 box03']/ul[@class='product01']//li/a/@href").extract()
# print(page_url_list)
for i in range(0, len(page_url_list)):
gril_page_url = page_url_list[i]
print(gril_page_url)
yield Request(url=gril_page_url, callback=self.next3)
pass
def next3(self, response):
pass
|
运行程序看看:
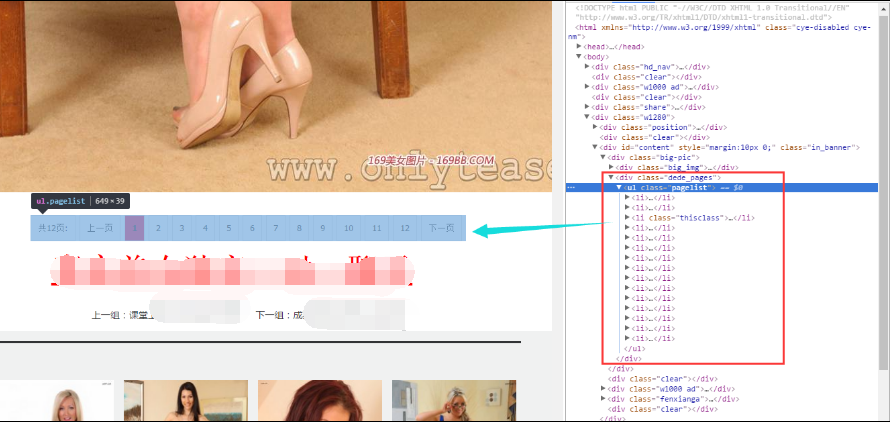
next3() 这个回调函数的功能就是得到一个美女网页里面的所有的页面的网址。
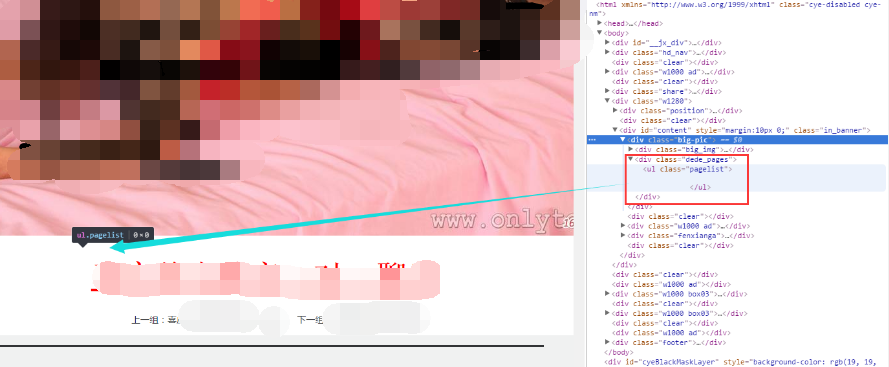
有的美女的网页里面只有一个页面,有的美女的网页里面有多个页面:
可以统一解决。
测试:

输出:

同样的回调函数
输出:

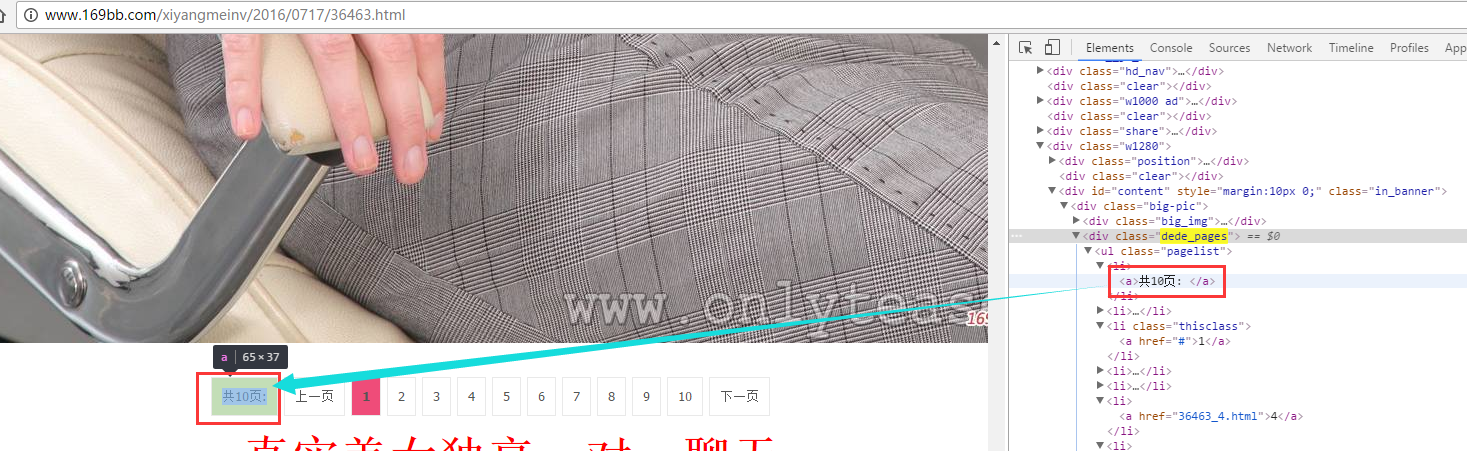
所以,我们可以这样写程序:
当得到的页码为-3,说明这个美女的网页是单页的;如果得到的页码数不等于-3,说明这个美女的网页是多也的。
测试程序:
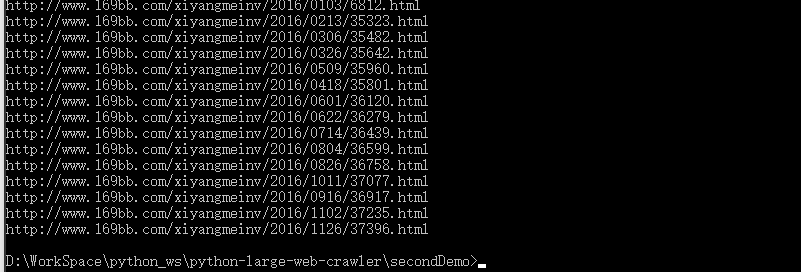
对于多页面的美女网页网址
运行输出:
1
2
3
4
5
6
7
8
9
10
11
12
13
14
| D:\WorkSpace\python_ws\python-large-web-crawler\secondDemo>scrapy crawl pic_169bb --nolog
10
http://www.169bb.com/xiyangmeinv/2016/0717/36463.html
http://www.169bb.com/xiyangmeinv/2016/0717/36463_5.html
http://www.169bb.com/xiyangmeinv/2016/0717/36463_10.html
http://www.169bb.com/xiyangmeinv/2016/0717/36463_9.html
http://www.169bb.com/xiyangmeinv/2016/0717/36463_6.html
http://www.169bb.com/xiyangmeinv/2016/0717/36463_8.html
http://www.169bb.com/xiyangmeinv/2016/0717/36463_7.html
http://www.169bb.com/xiyangmeinv/2016/0717/36463_3.html
http://www.169bb.com/xiyangmeinv/2016/0717/36463_4.html
http://www.169bb.com/xiyangmeinv/2016/0717/36463_2.html
D:\WorkSpace\python_ws\python-large-web-crawler\secondDemo>
|
对于单页面的美女网页:
1
2
3
| def parse(self, response):
...
yield Request(url='http://www.169bb.com/xiyangmeinv/2016/0103/2268.html', callback=self.demo)
|
回调函输一样。
运行输出:
1
2
3
4
5
| D:\WorkSpace\python_ws\python-large-web-crawler\secondDemo>scrapy crawl pic_169bb --nolog
-3
http://www.169bb.com/xiyangmeinv/2016/0103/2268.html
D:\WorkSpace\python_ws\python-large-web-crawler\secondDemo>
|
成功。
所以现在的爬虫代码应该是这样的:
1
2
3
4
5
6
7
8
9
10
11
12
13
14
15
16
17
18
19
20
21
22
23
24
25
26
27
28
29
30
31
32
33
34
35
36
37
38
39
40
41
42
43
44
45
46
47
48
49
50
51
52
53
54
55
56
57
58
59
60
61
62
63
64
65
66
67
68
69
70
71
72
73
74
75
76
77
78
79
80
81
82
| # -*- coding: utf-8 -*-
import scrapy
from scrapy.http import Request
class Pic169bbSpider(scrapy.Spider):
name = "pic_169bb"
allowed_domains = ["169bb.com"]
start_urls = ['http://169bb.com/']
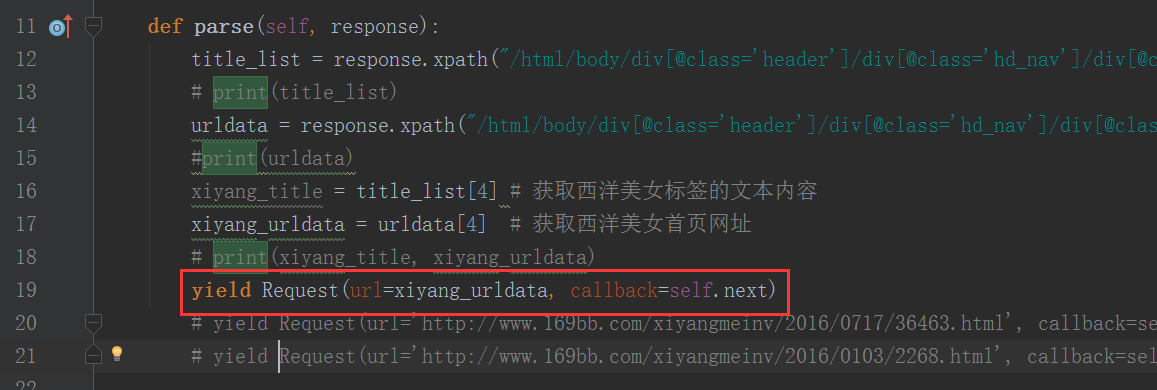
def parse(self, response):
title_list = response.xpath("/html/body/div[@class='header']/div[@class='hd_nav']/div[@class='w1000']//a/text()").extract()
# print(title_list)
urldata = response.xpath("/html/body/div[@class='header']/div[@class='hd_nav']/div[@class='w1000']//a/@href").extract()
#print(urldata)
xiyang_title = title_list[4] # 获取西洋美女标签的文本内容
xiyang_urldata = urldata[4] # 获取西洋美女首页网址
# print(xiyang_title, xiyang_urldata)
yield Request(url=xiyang_urldata, callback=self.next)
# yield Request(url='http://www.169bb.com/xiyangmeinv/2016/0717/36463.html', callback=self.demo)
# yield Request(url='http://www.169bb.com/xiyangmeinv/2016/0103/2268.html', callback=self.demo)
def next(self, response):
page_num_str = response.xpath("//span[@class='pageinfo']//strong/text()").extract()[0] # 得到西洋美女总页数
# print(page_num_str)
# print(response.url)
for i in range(1, int(page_num_str)+1):
page_url = response.url + 'list_4_'+ str(i) + '.html' # 得到西洋美女每一个页面的网址
# print(page_url)
yield Request(url=page_url, callback=self.next2)
pass
def next2(self, response):
page_title_list = response.xpath("/html/body//div[@class='w1000 box03']/ul[@class='product01']//li/a/@alt").extract()
# print(page_title_list)
page_url_list = response.xpath("/html/body//div[@class='w1000 box03']/ul[@class='product01']//li/a/@href").extract()
# print(page_url_list)
for i in range(0, len(page_url_list)):
gril_page_url = page_url_list[i] # 得到西洋美女页面里面每一个美女的网页网址
print(gril_page_url)
yield Request(url=gril_page_url, callback=self.next3)
pass
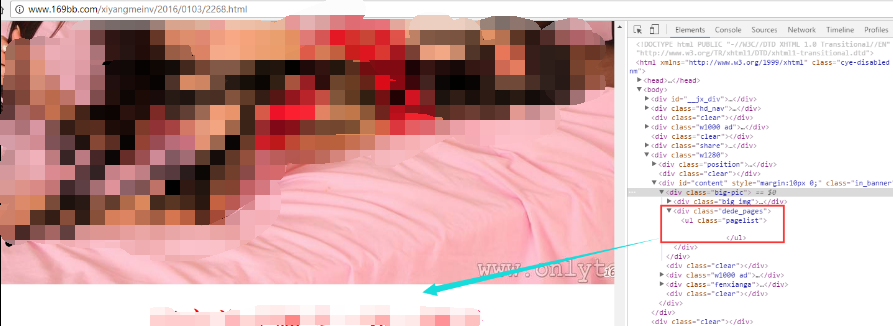
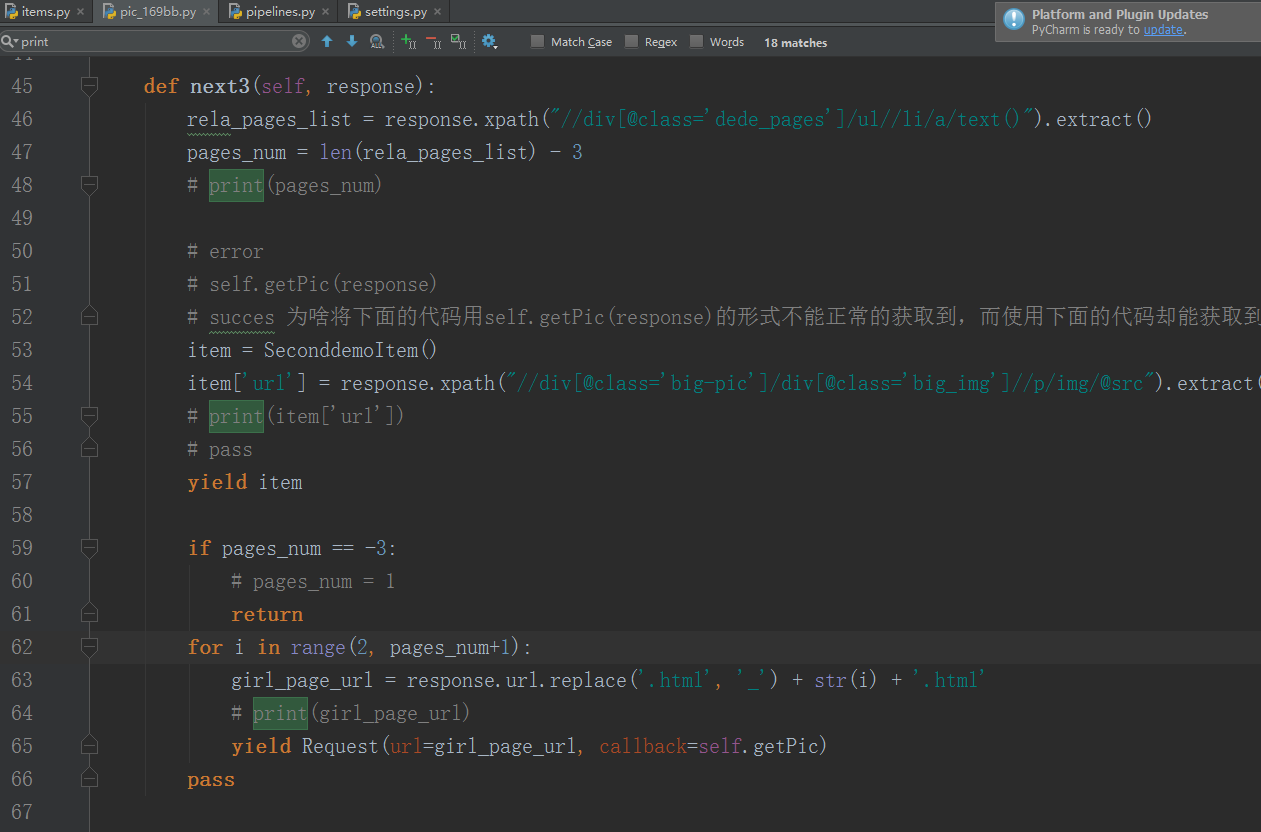
def next3(self, response):
rela_pages_list = response.xpath("//div[@class='dede_pages']/ul//li/a/text()").extract()
pages_num = len(rela_pages_list) - 3
# print(pages_num)
self.getPic(response)
if pages_num == -3:
# pages_num = 1
return
for i in range(2, pages_num+1):
girl_page_url = response.url.replace('.html', '_') + str(i) + '.html'
# print(girl_page_url)
yield Request(url=girl_page_url, callback=self.next4)
pass
# def demo(self, response):
# # rela_pages_list = response.xpath("//div[@class='dede_pages']/ul//li/a/text()").extract()
# # pages_num = len(rela_pages_list)-3
# # print(pages_num)
# # pass
# rela_pages_list = response.xpath("//div[@class='dede_pages']/ul//li/a/text()").extract()
# pages_num = len(rela_pages_list) - 3
# # print(pages_num)
# self.getPic(response)
# if pages_num == -3:
# # pages_num = 1
# return
# for i in range(2, pages_num+1):
# girl_page_url = response.url.replace('.html', '_') + str(i) + '.html'
# # print(girl_page_url)
# yield Request(url=girl_page_url, callback=self.next4)
# pass
def next4(self, response):
self.getPic(response)
pass
def getPic(self, response):
print(response.url)
pass
|
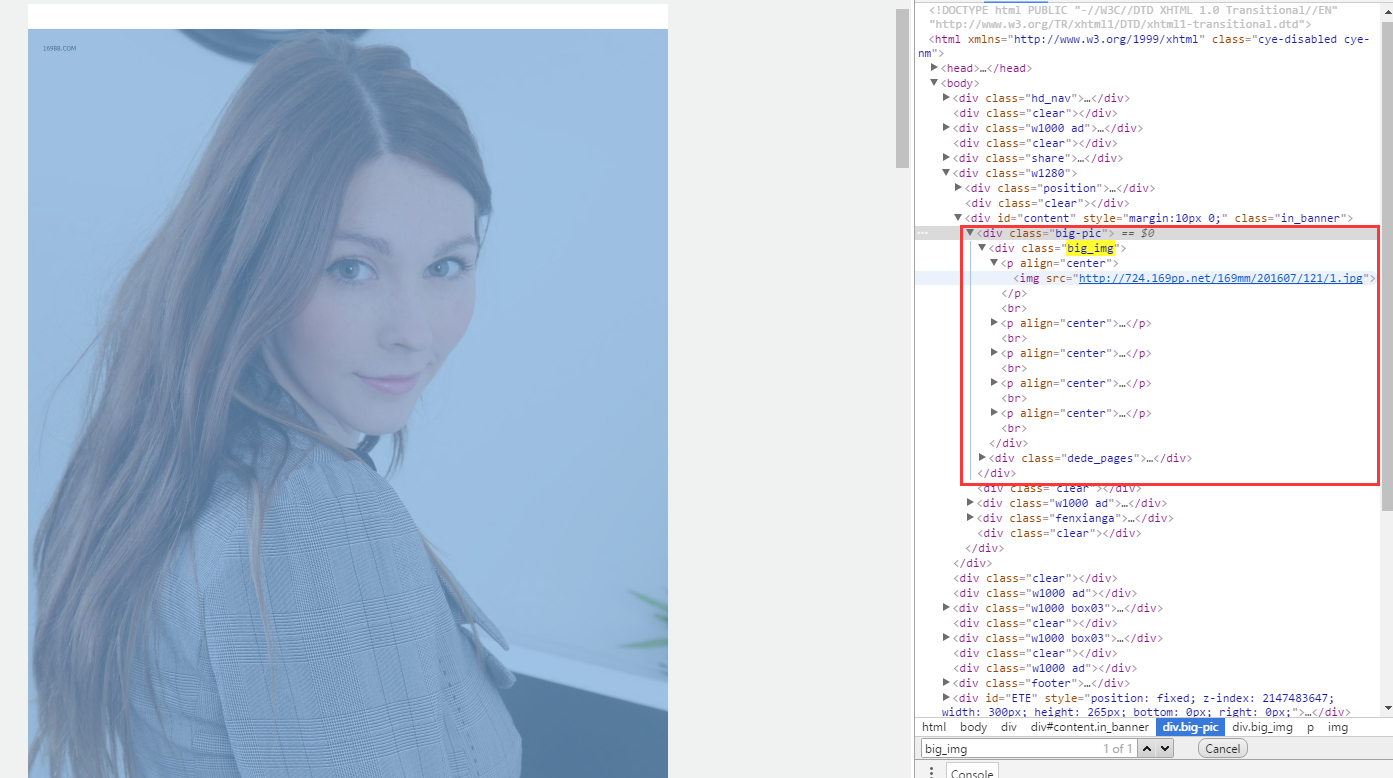
现在,我们需要在getPic() 函数中获取每一个美女网页的每一个页面里面的所有高清图片。
1
2
3
4
5
6
| def getPic(self, response):
# print(response.url)
item = SeconddemoItem()
item['url'] = response.xpath("//div[@class='big-pic']/div[@class='big_img']//p/img/@src").extract()
print(item['url'])
pass
|
测试运行:
测试多页的美女网页:
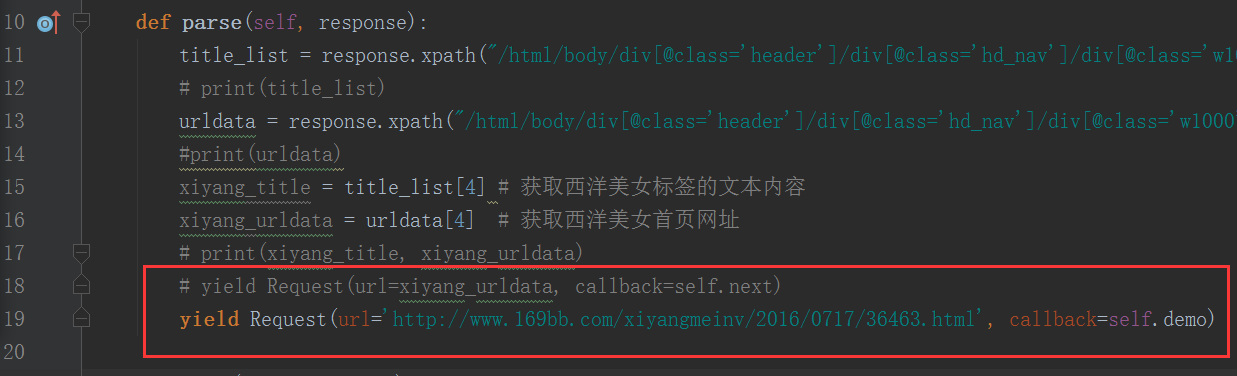
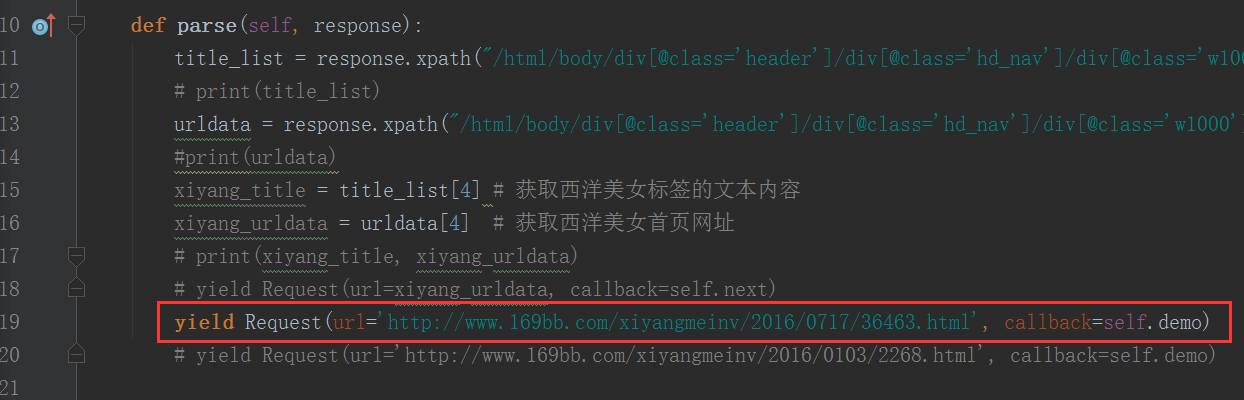
先将parse()函数的最后一行改为:yield Request(url='http://www.169bb.com/xiyangmeinv/2016/0717/36463.html', callback=self.demo)
测试单页的美女网页:
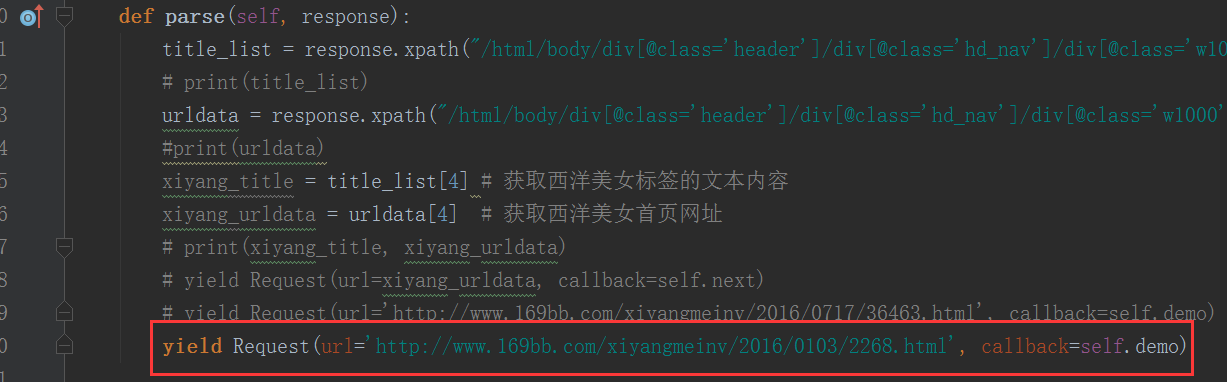
将parse()函数的最后一行改为:yield Request(url='http://www.169bb.com/xiyangmeinv/2016/0103/2268.html', callback=self.demo)

成功。
下载高清图片
OK,现在我们就已经得到了所有西洋美女的所有高清图片的下载地址,我们在piplines.py 文件中使用它们。
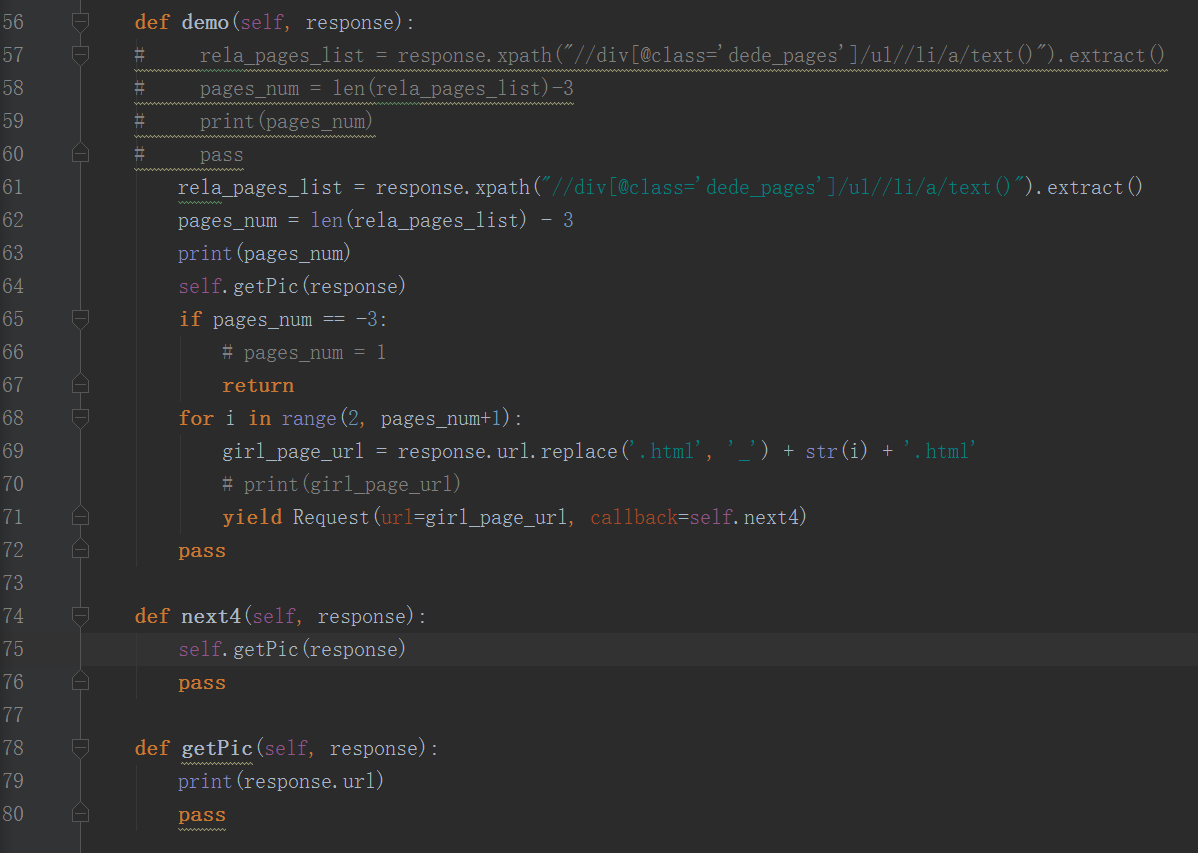
删除了next4()回调函数。在demo()回调函数里面调用的都是getPic()回调函数。
1
2
3
4
5
6
7
8
9
10
11
12
13
14
15
16
17
18
19
20
21
22
| def demo(self, response):
# rela_pages_list = response.xpath("//div[@class='dede_pages']/ul//li/a/text()").extract()
# pages_num = len(rela_pages_list)-3
# print(pages_num)
# pass
rela_pages_list = response.xpath("//div[@class='dede_pages']/ul//li/a/text()").extract()
pages_num = len(rela_pages_list) - 3
# print(pages_num)
self.getPic(response)
if pages_num == -3:
# pages_num = 1
return
for i in range(2, pages_num+1):
girl_page_url = response.url.replace('.html', '_') + str(i) + '.html'
# print(girl_page_url)
yield Request(url=girl_page_url, callback=self.getPic)
pass
# error : yield 经过了一个中间函数,运行就有问题。我现在还不知道为什么
# def next4(self, response):
# self.getPic(response)
# pass
|
并将getPic()函数里面的item写到生成器里面:
1
2
3
4
5
6
7
| def getPic(self, response):
# print(response.url)
item = SeconddemoItem()
item['url'] = response.xpath("//div[@class='big-pic']/div[@class='big_img']//p/img/@src").extract()
# print(item['url'])
# pass
yield item
|
测试:
测试单页的美女网页:
将parse()函数的最后一行改为:yield Request(url='http://www.169bb.com/xiyangmeinv/2016/0103/2268.html', callback=self.getPic)
成功。
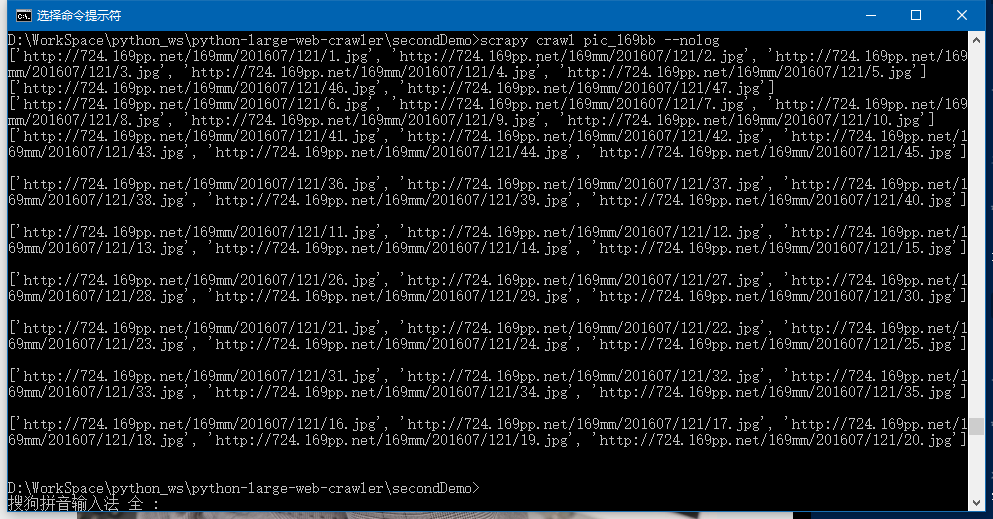
测试多页的美女网页:
先将parse()函数的最后一行改为:yield Request(url='http://www.169bb.com/xiyangmeinv/2016/0717/36463.html', callback=self.demo)
也算算成功,因为有重复的文件名,所以自动替换,所以这里需要做修改。
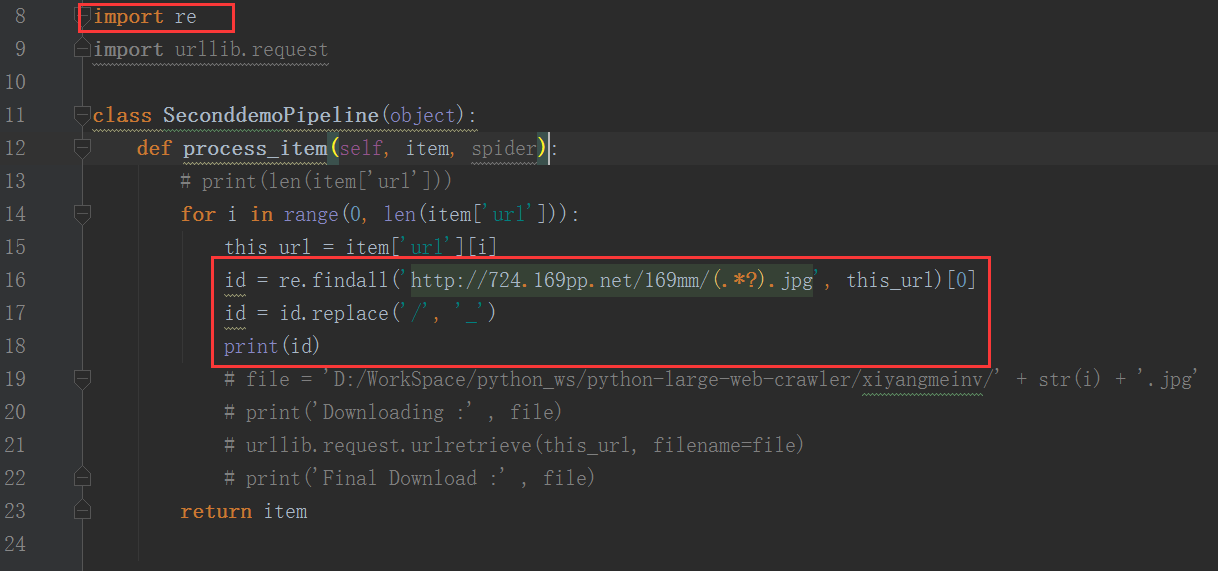
我们可以使用美女图片网址里面的数字作为图片文件名的固定前缀来给图片命名,使用正则表达式获取网址的数字。
在 pipelines.py 文件 中的 process_item() 函数中使用正则表达式得到图片下载网址的数字:
1
2
3
4
5
6
7
8
9
10
11
12
13
14
15
16
| import re
import urllib.request
class SeconddemoPipeline(object):
def process_item(self, item, spider):
# print(len(item['url']))
for i in range(0, len(item['url'])):
this_url = item['url'][i]
id = re.findall('http://724.169pp.net/169mm/(.*?).jpg', this_url)[0]
id = id.replace('/', '_')
print(id)
# file = 'D:/WorkSpace/python_ws/python-large-web-crawler/xiyangmeinv/' + str(i) + '.jpg'
# print('Downloading :' , file)
# urllib.request.urlretrieve(this_url, filename=file)
# print('Final Download :' , file)
return item
|
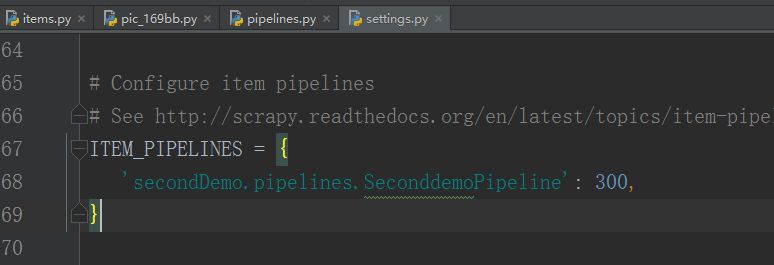
要想使用 pipelines.py 文件 中的 SeconddemoPipeline 类,需要在 settings.py 文件里面设置 ITEM_PIPELINES 项:
1
2
3
| ITEM_PIPELINES = {
'secondDemo.pipelines.SeconddemoPipeline': 300,
}
|
这里,我有一件事情不懂,关于正则表达式的: 网址里面的. 也是正则表达式中的工具字符,也是数据中中的内容,那么正则表达式是如何分辨它在这里是功能字符还是内容字符?
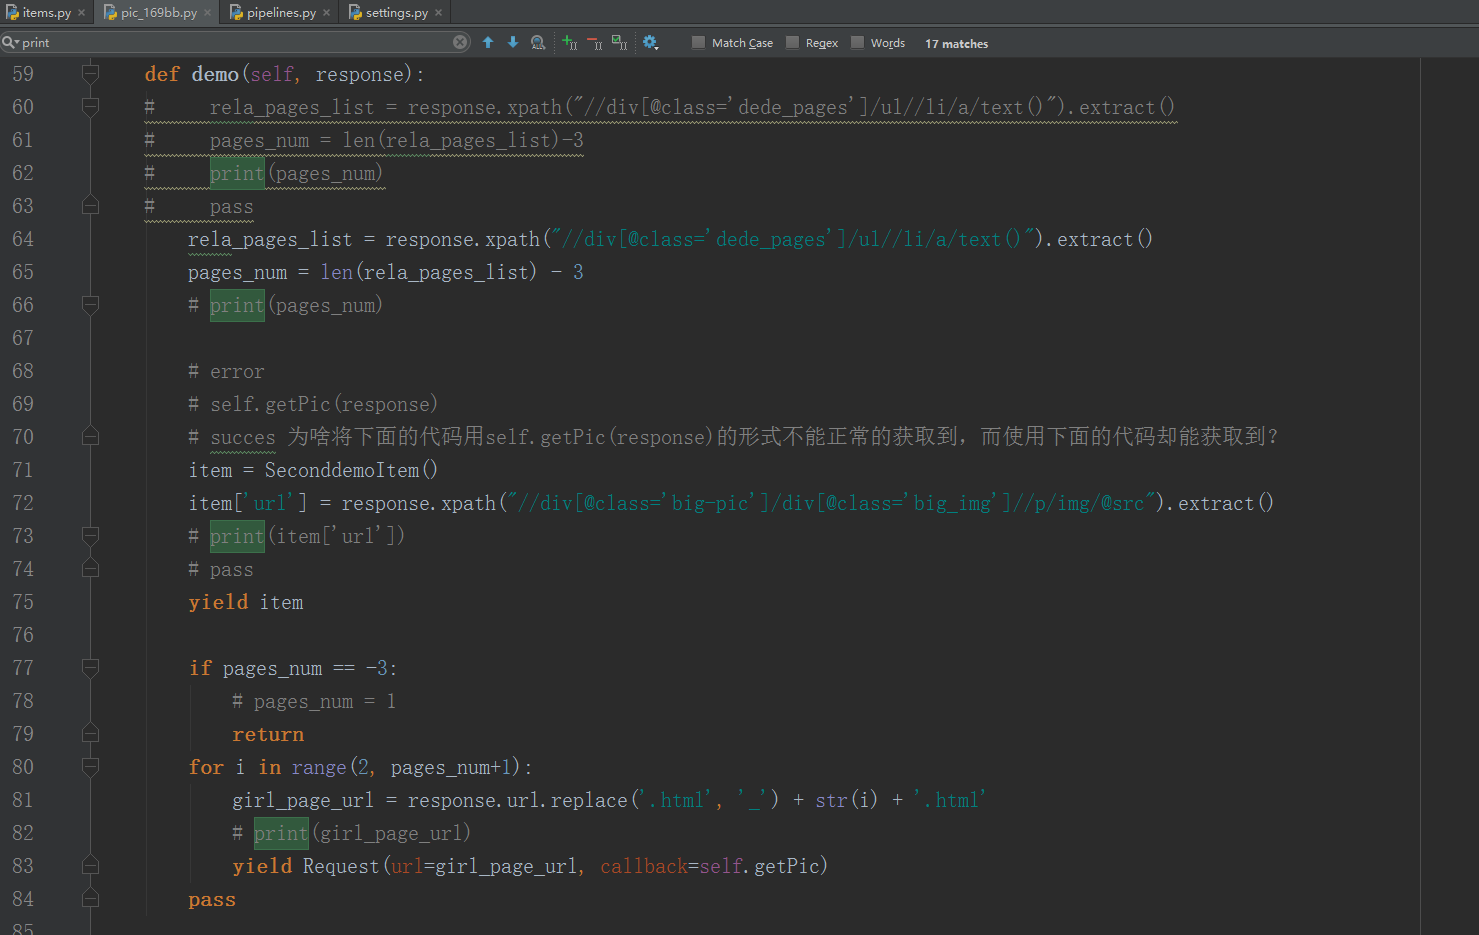
在pic_169bb.py 文件的demo() 回调函数中,这样写才能获取到美女网页的第一页的图片地址:
1
2
3
4
5
6
7
8
| # error
# self.getPic(response)
# succes 为啥将下面的代码用self.getPic(response)的形式不能正常的获取到,而使用下面的代码却能获取到?
item = SeconddemoItem()
item['url'] = response.xpath("//div[@class='big-pic']/div[@class='big_img']//p/img/@src").extract()
# print(item['url'])
# pass
yield item
|
运行程序试试:
测试单页的美女网页:
将parse()函数的最后一行改为:yield Request(url='http://www.169bb.com/xiyangmeinv/2016/0103/2268.html', callback=self.getPic)
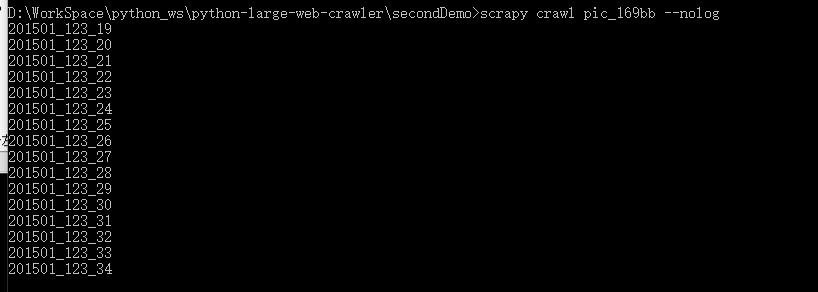
成功。
测试多页的美女网页:
先将parse()函数的最后一行改为:yield Request(url='http://www.169bb.com/xiyangmeinv/2016/0717/36463.html', callback=self.demo)
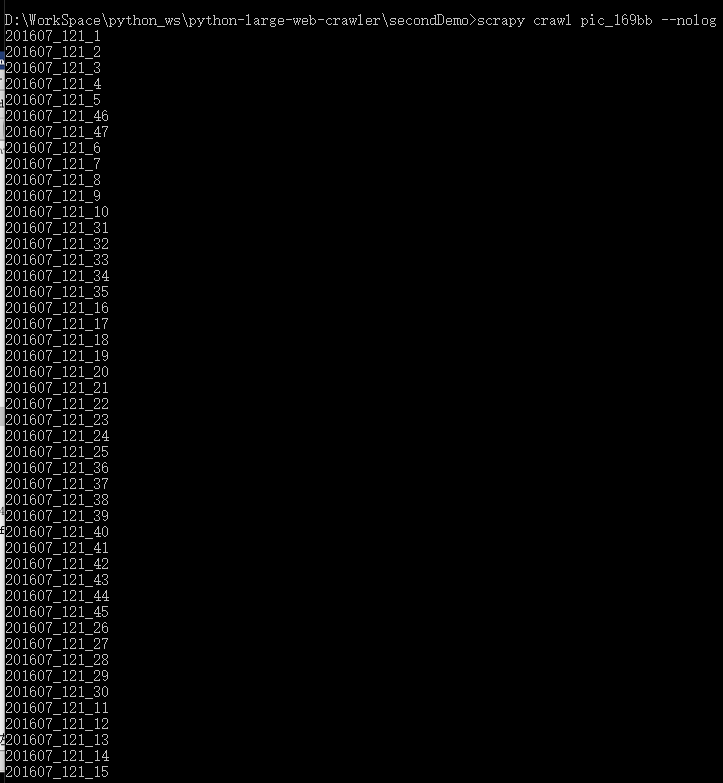
都成功。
先测试下载图片:
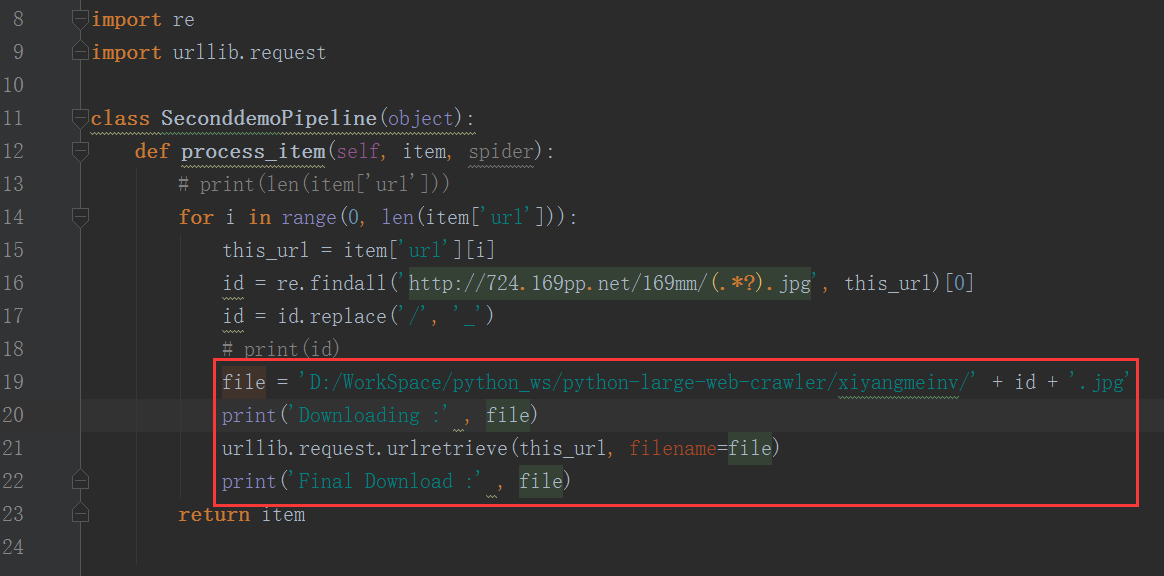
将 pipelines.py 文件 中的 SeconddemoPipeline 类的process_item() 函数里面,添加代码:
1
2
3
4
5
6
7
8
9
10
11
12
| def process_item(self, item, spider):
# print(len(item['url']))
for i in range(0, len(item['url'])):
this_url = item['url'][i]
id = re.findall('http://724.169pp.net/169mm/(.*?).jpg', this_url)[0]
id = id.replace('/', '_')
# print(id)
file = 'D:/WorkSpace/python_ws/python-large-web-crawler/xiyangmeinv/' + id + '.jpg'
print('Downloading :' , file)
urllib.request.urlretrieve(this_url, filename=file)
print('Final Download :' , file)
return item
|
运行程序,没有毛病:(除了下载速度有点慢)

下载 169美女图片网 的所有西洋美女的图片
在 pic_169bb.py文件里, 将parse()函数的最后一行改为:yield Request(url=xiyang_urldata, callback=self.next)
将 demo() 函数里面的所有代码复制一份到 next3()函数里:
现在,运行程序:(最终的程序)
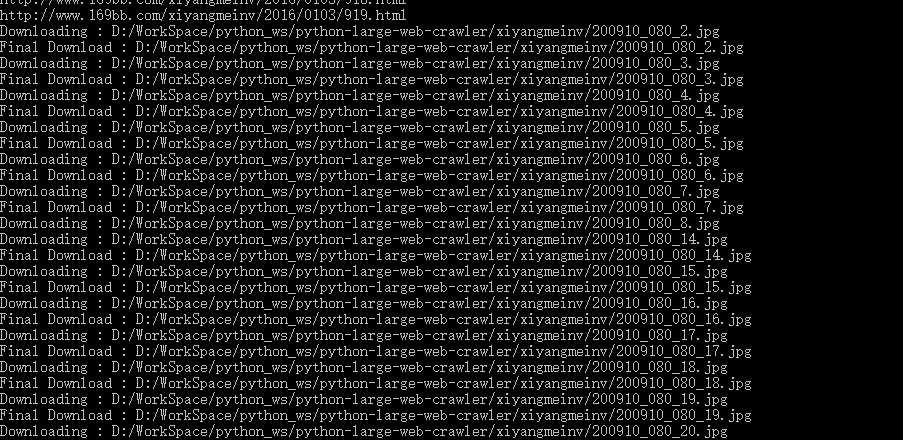

成功!
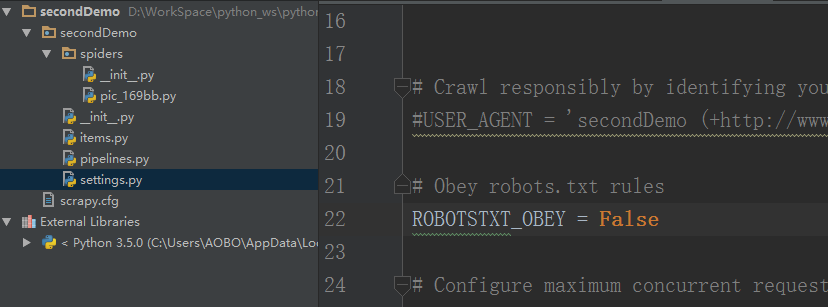
防反爬技术
Step 4 . 不遵循 robots.txt 协议。
将 settings.py 文件里面的 ROBOTSTXT_OBEY 项设置为:False
Step 6 . 模仿浏览器
请先查看这篇博客:http://blog.csdn.net/github_35160620/article/details/52489709 里面是:六 . 设置 用户代理(user_agent)。
将 settings.py 文件里面的 USER_AGENT 项设置为:浏览器的用户代理信息。
1
| USER_AGENT = 'Mozilla/5.0 (Windows NT 6.1; WOW64) AppleWebKit/537.36 (KHTML, like Gecko) Chrome/49.0.2623.22 Safari/537.36 SE 2.X MetaSr 1.0'
|
Step 7 . 禁止缓存
将 settings.py 文件里面的 COOKIES_ENABLED 项设置为:False。
1
| COOKIES_ENABLED = False
|
搞定
需要升级的地方:(2016-11-27 19:34:34)
- 在易错的代码段加上异常检测程序
- 在下载图片的代码加上:超时异常检测程序
- 记录成功下载的、超时失败下载的、链接失败下载的 信息
- 添加断点续下功能。